Flutter and Android's Navigation Bar
Table of Contents
If you’ve been working with Flutter, you might have noticed a small but annoying problem when developing apps for recent versions of Android. By default, Android adds a Navigation Bar at the bottom of the screen, which allows users to navigate between apps and switch tasks. However, this Navigation Bar often appears in a different color than the rest of your app, which can be jarring and ruin the user experience.
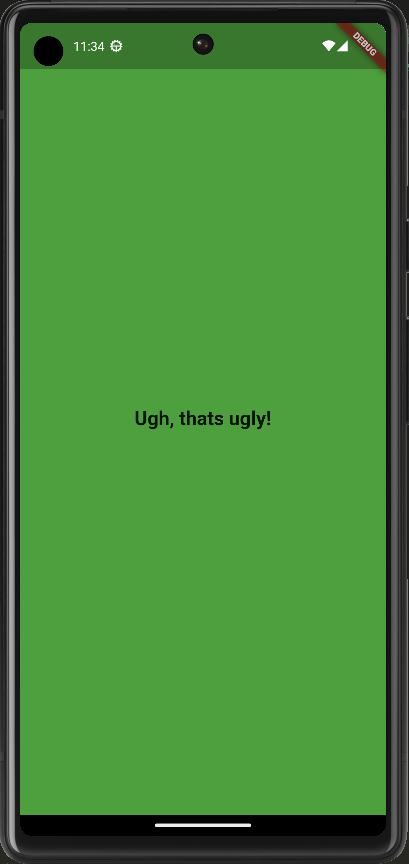 Where does that black bar at the bottom come from?
Fortunately, there is an easy solution to this problem. In this post, I’ll show you how to customize the color of the Navigation Bar in Flutter and make it match the design of your app. Whether you’re a seasoned developer or just starting out with Flutter, this simple trick will help you create more cohesive and visually appealing apps for Android. So let’s dive in and see how it’s done!
Static colors
Basically, Flutter’s canvas does not extend right to the bottom, which is why we get a little colored bar instead.
This color can be statically changed in the styles.xml / styles-nightly.xml files under the android directory:
<item name="android:navigationBarColor">#{YOUR_HEX_COLOR}</item>
The problem with this approach is that these styles are static for each startup of the app. If the user changed from light- to dark mode, the wrongly colored bar would appear once more.
Set colors from Flutter
Luckily, there is a way to set this color directly from one’s Flutter code using the AnnotatedRegion widget:
AnnotatedRegion<SystemUiOverlayStyle>(
  value: SystemUiOverlayStyle(
    systemNavigationBarColor: YOUR_COLOR_HERE,
    systemNavigationBarIconBrightness: BRIGHTNESS_OF_ICONS,
  ),
  child: yourWidgetTree,
)
Use Theme to set colors dynamically
To now also support theme mode changes, we can dynamically use a color from our theme:
final theme = Theme.of(context);
// Light -> Dark, Dark -> Light
final iconBrightness = Brightness.values[(theme.brightness.index + 1) % 2]

return AnnotatedRegion<SystemUiOverlayStyle>(
  value: SystemUiOverlayStyle(
    systemNavigationBarColor: theme.bottomAppBarTheme.color,
    systemNavigationBarIconBrightness: iconBrightness,
  ),
  child: child,
)
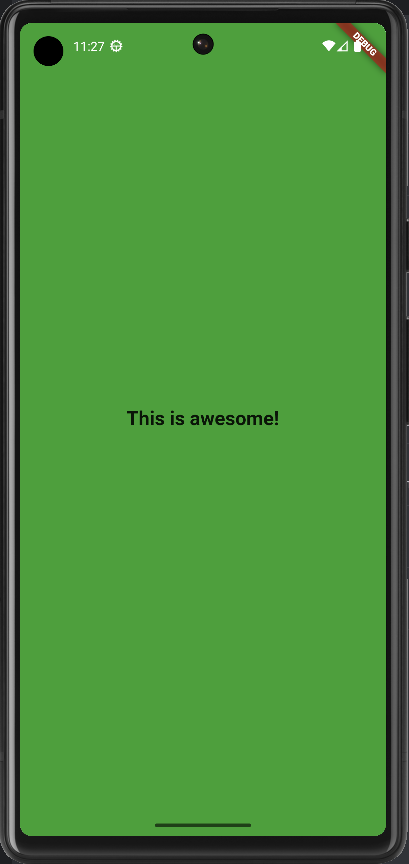
This yields the following result if the Theme is configured correctly:
 Hooray, the ugly black bar is gone!
Control the whole screen
If you now also want dynamic control over the app bar at the top, you can easily extend the example:
final theme = Theme.of(context);
// Light -> Dark, Dark -> Light
final iconBrightness = Brightness.values[(theme.brightness.index + 1) % 2]

return AnnotatedRegion<SystemUiOverlayStyle>(
  value: SystemUiOverlayStyle(
    systemNavigationBarColor: theme.bottomAppBarTheme.color,
    systemNavigationBarIconBrightness: iconBrightness,
    statusBarColor: Colors.transparent,
    statusBarIconBrightness: iconBrightness,
  ),
  child: child,
);
 Now this looks marvelous
Programmatically set styles
Just as a little side note: You can also change these settings from your business logic:
SystemChrome.setSystemUIOverlayStyle(SystemUiOverlayStyle(
  // ...
));